Getting Started.
Content.
On this page, you will find a four step overview of how to set up the parts of your foil, illustrated with photos and renderings.
For dedicated Tail Shim and Baseplate Shim setup, please refer to those separate tutorials on the Manuals page.
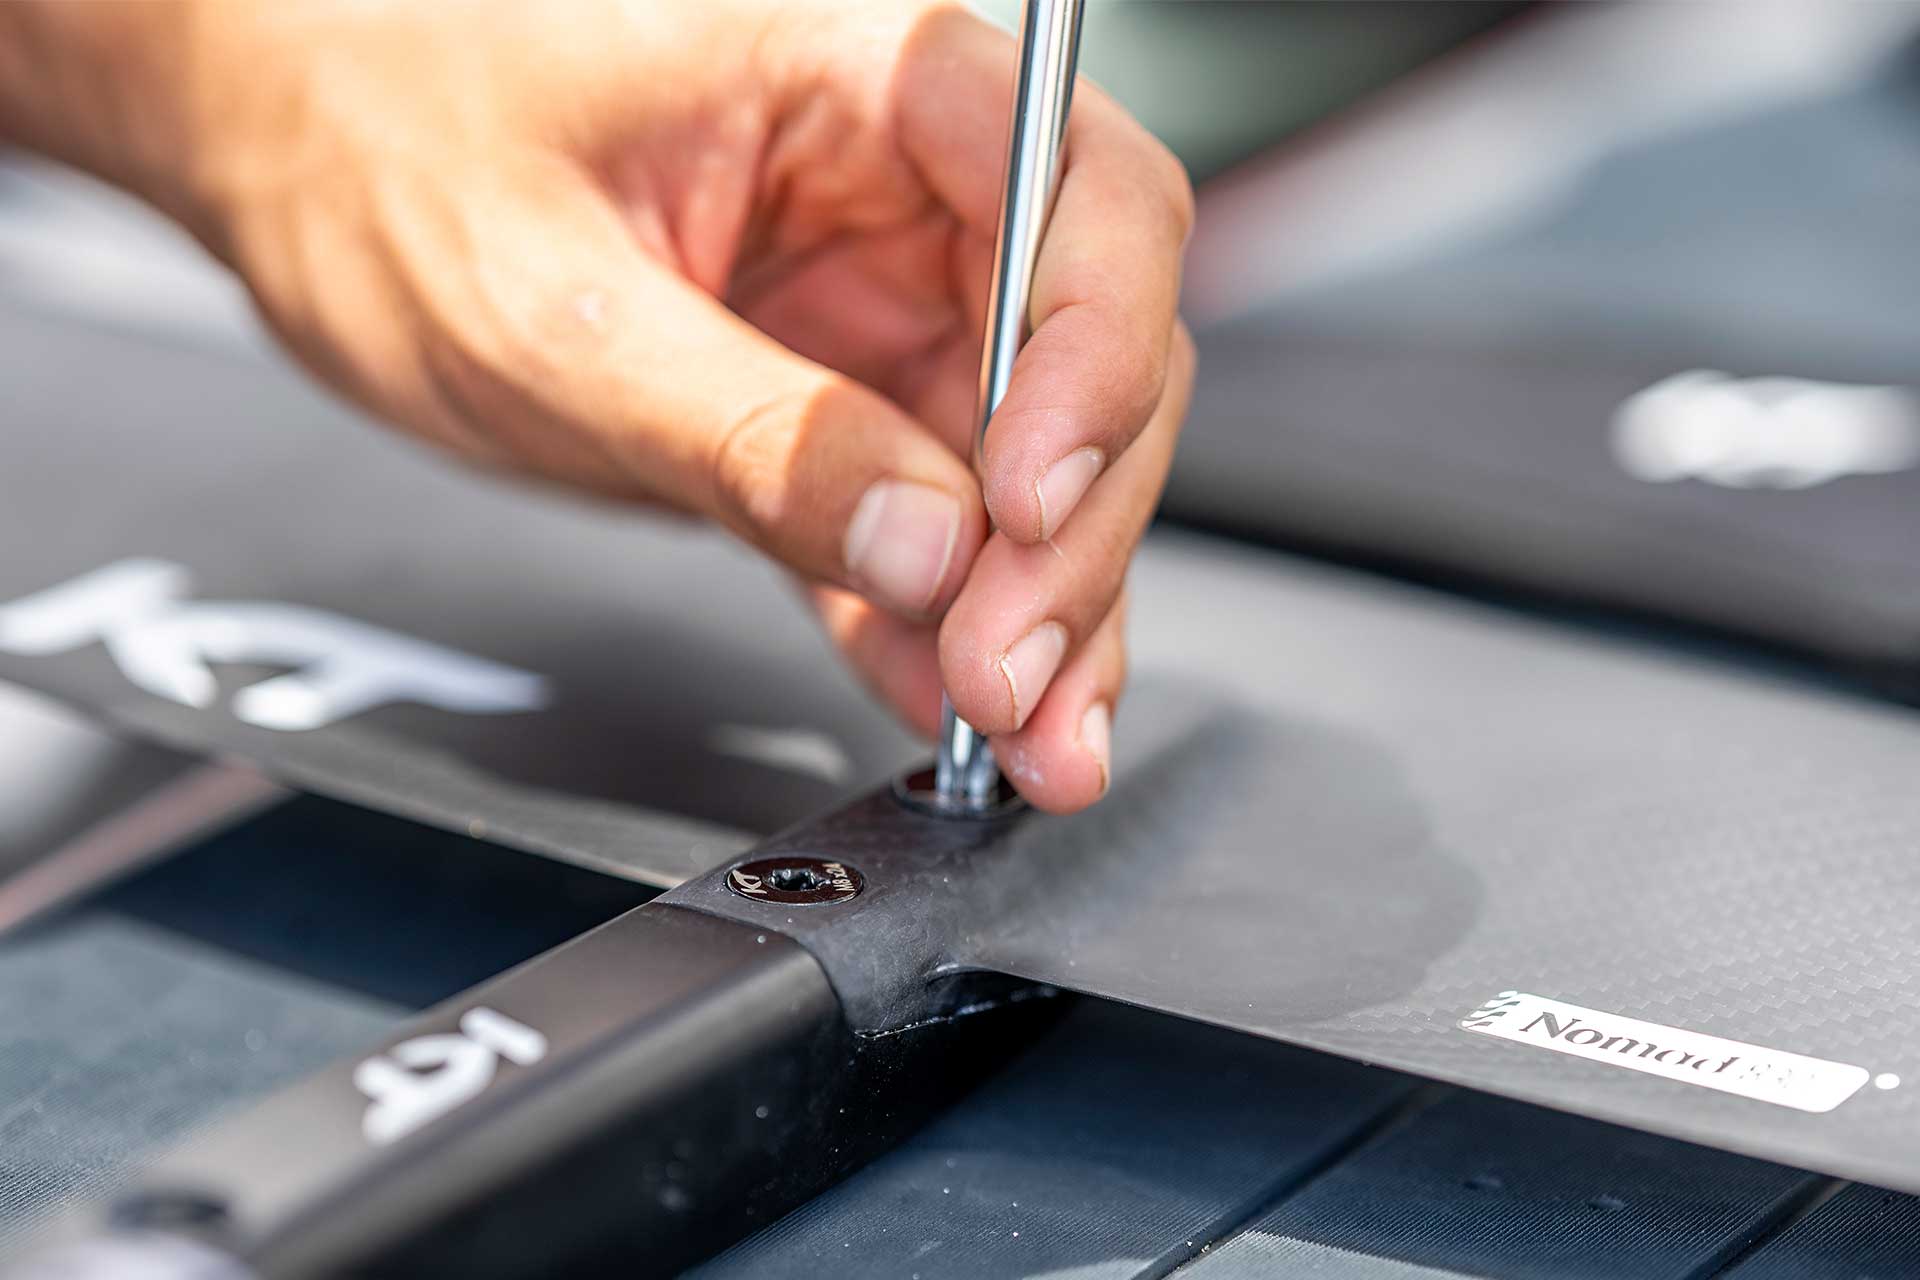
All KT Foiling Bolts are labeled on their heads.
We do not encourage the use of a power drill, but if you are experienced, this can be an option to get you on the water faster. Cracked tracks due to overtight bolts are not warranted.
Steps
There are many ways and sequences by which to assemnble your foil. This the is the one we recommend or at least encourage you to start with and take it from there.
1. Mast to Board
2. Fuselage to Mast
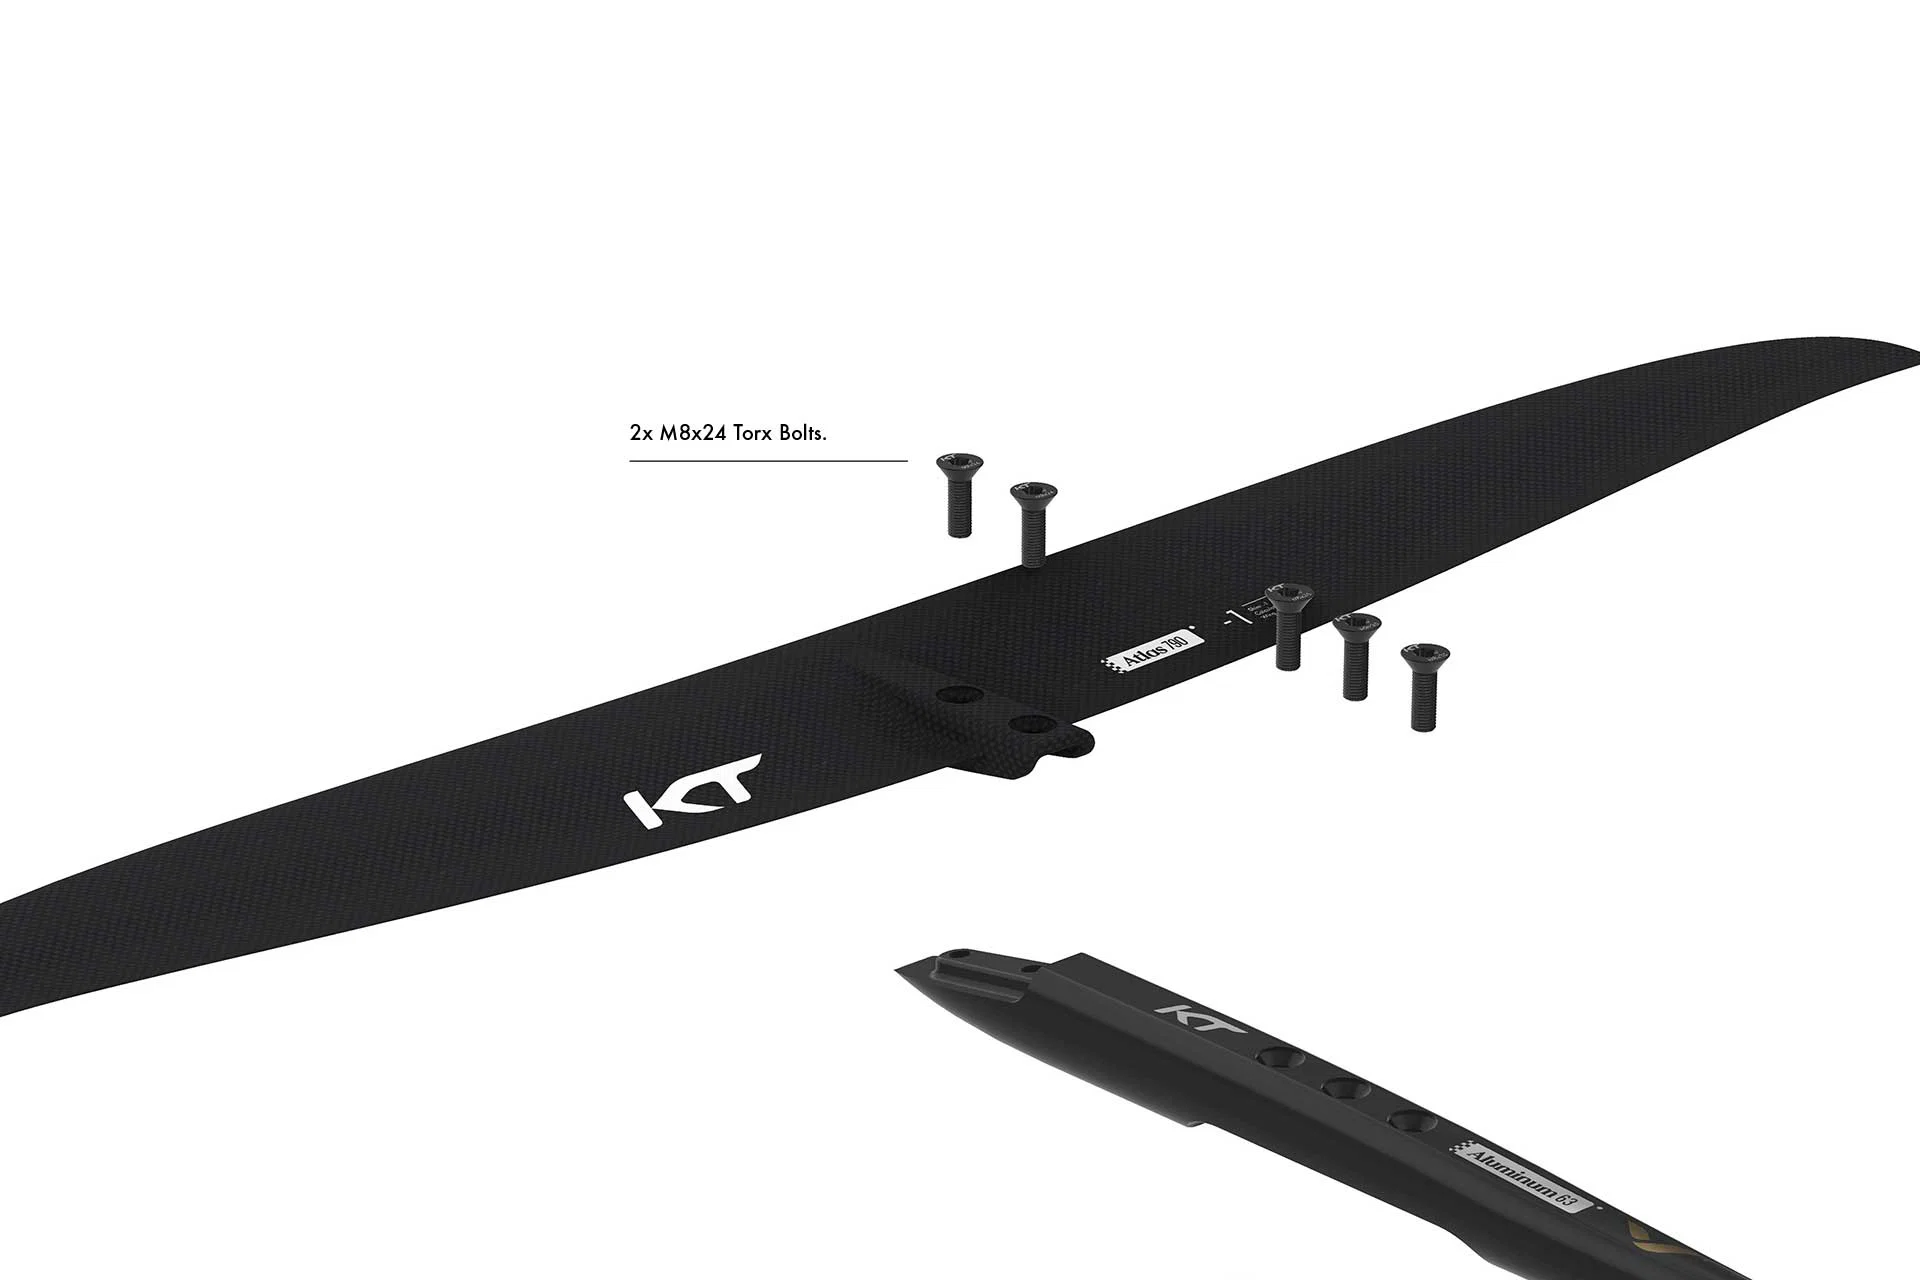
3. Front Wing to Fuselage
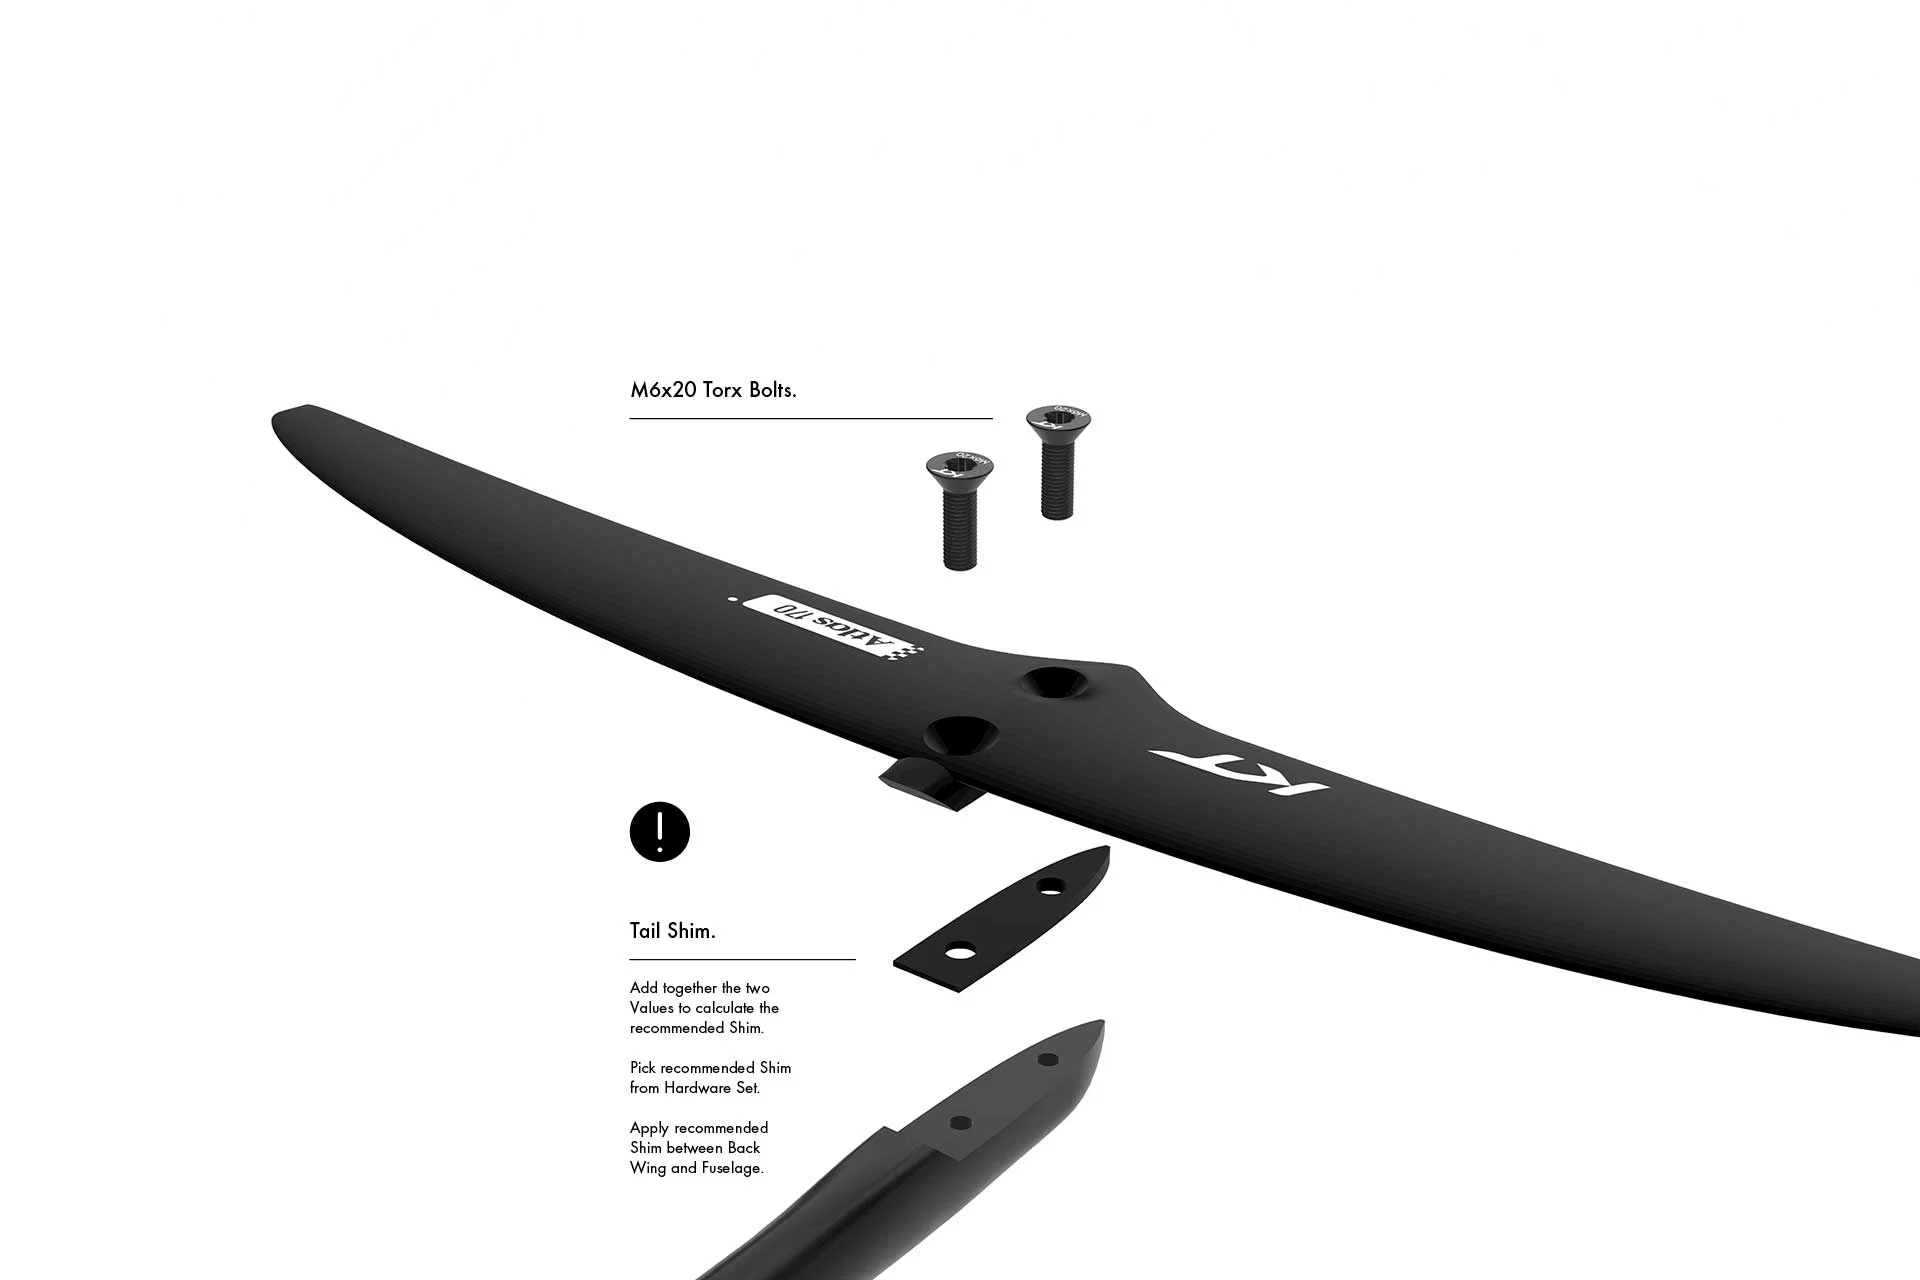
4. Back Wing to Fuselage
Assembly / Disassembly
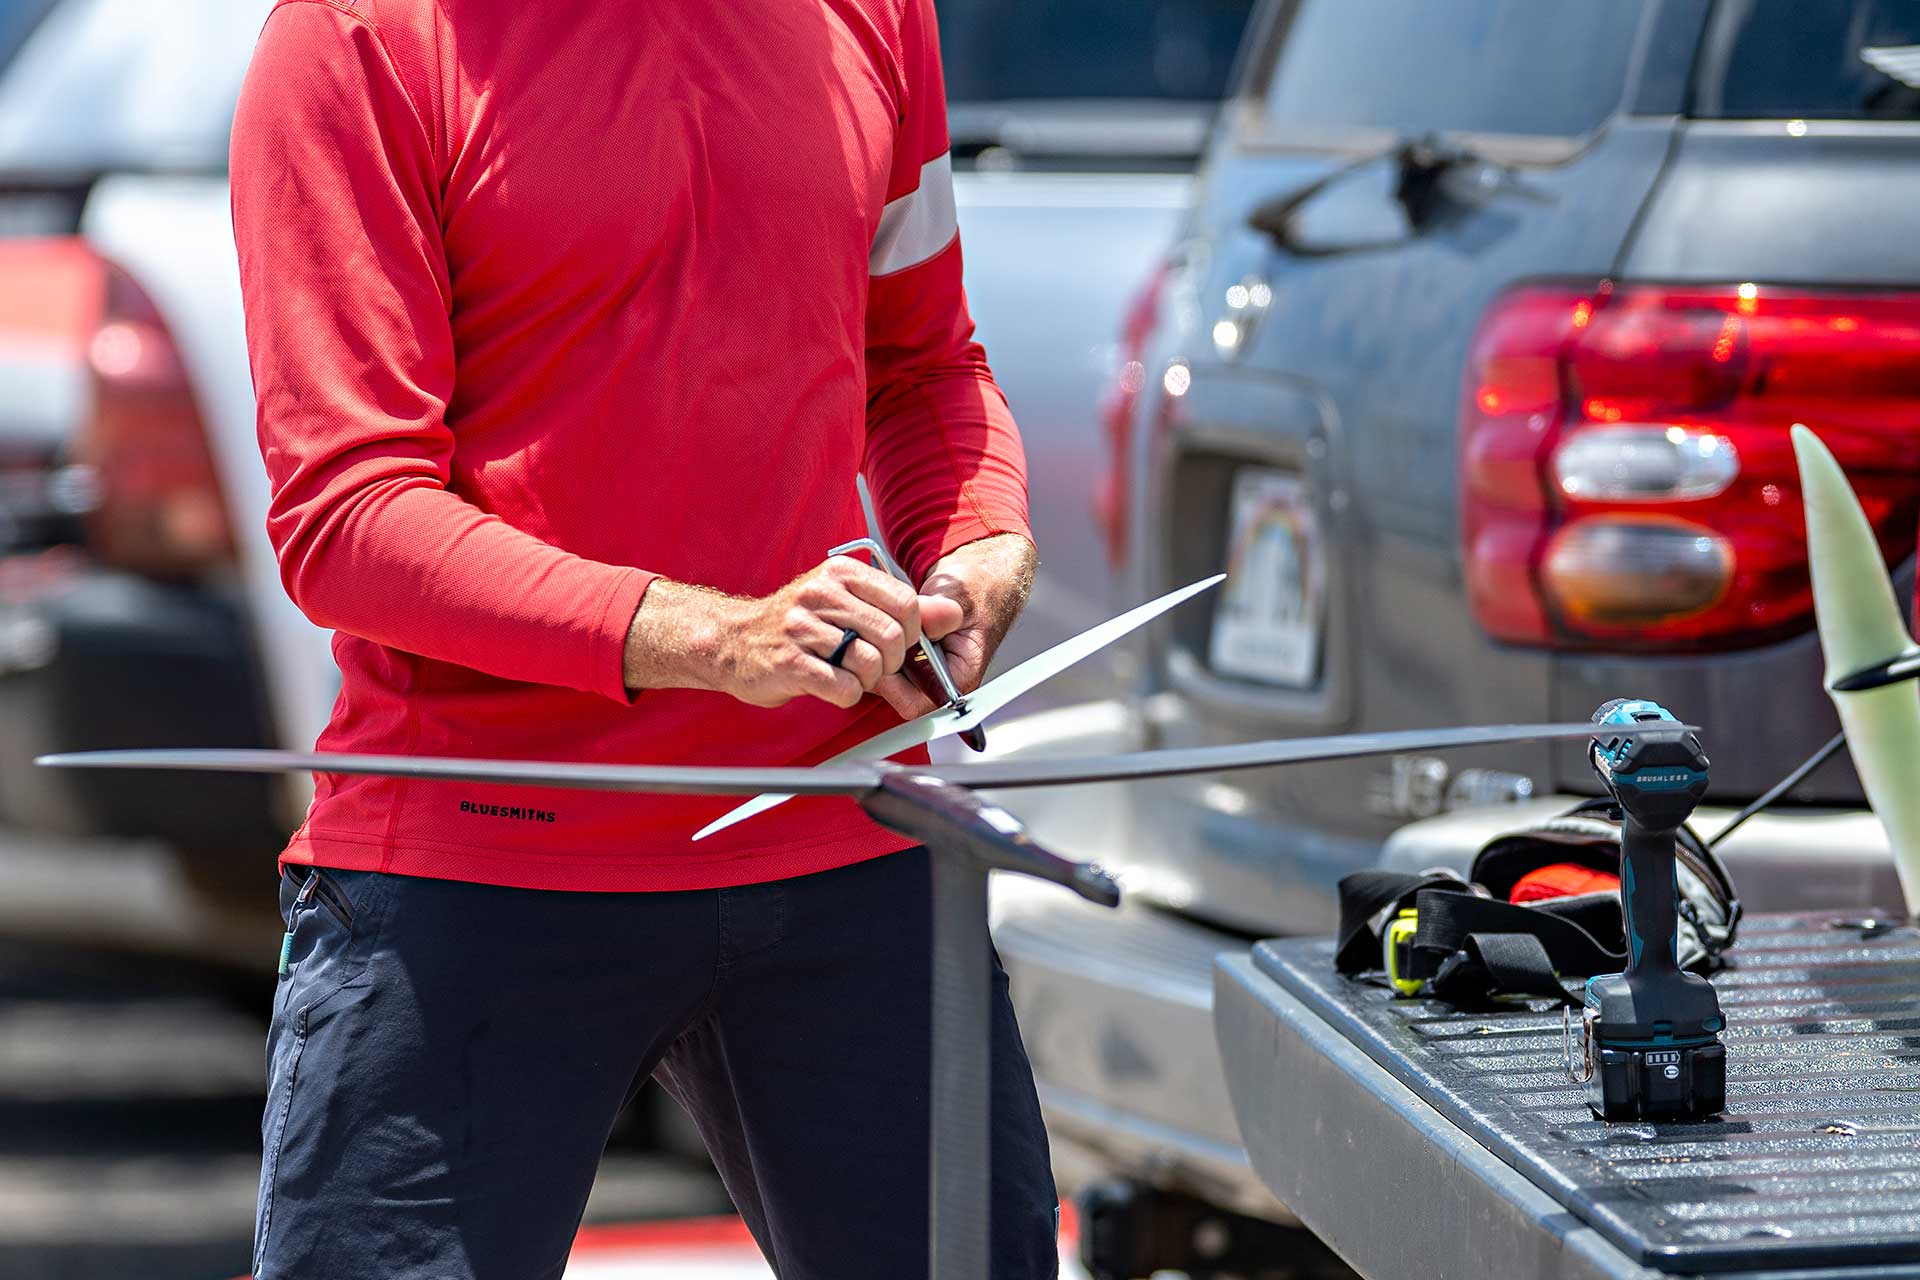
It is possible to keep the plane, or even the full foil assembled for a short while, if you have space and go to the water often. However we expressly recommend to disassemble your entire foil regularly and clean it with fresh water to avoid corrosion issues on the Aluminum fuselage. The fuse is protected against corrosion, but if you keep it assembled and in the car for days, corrosion with the salt can’t be ruled out entirely. Corrosion is not happening in the water but by keeping the foil assembled for long time, esp. in warm surroundings such as your car in the summer for example.
Tools
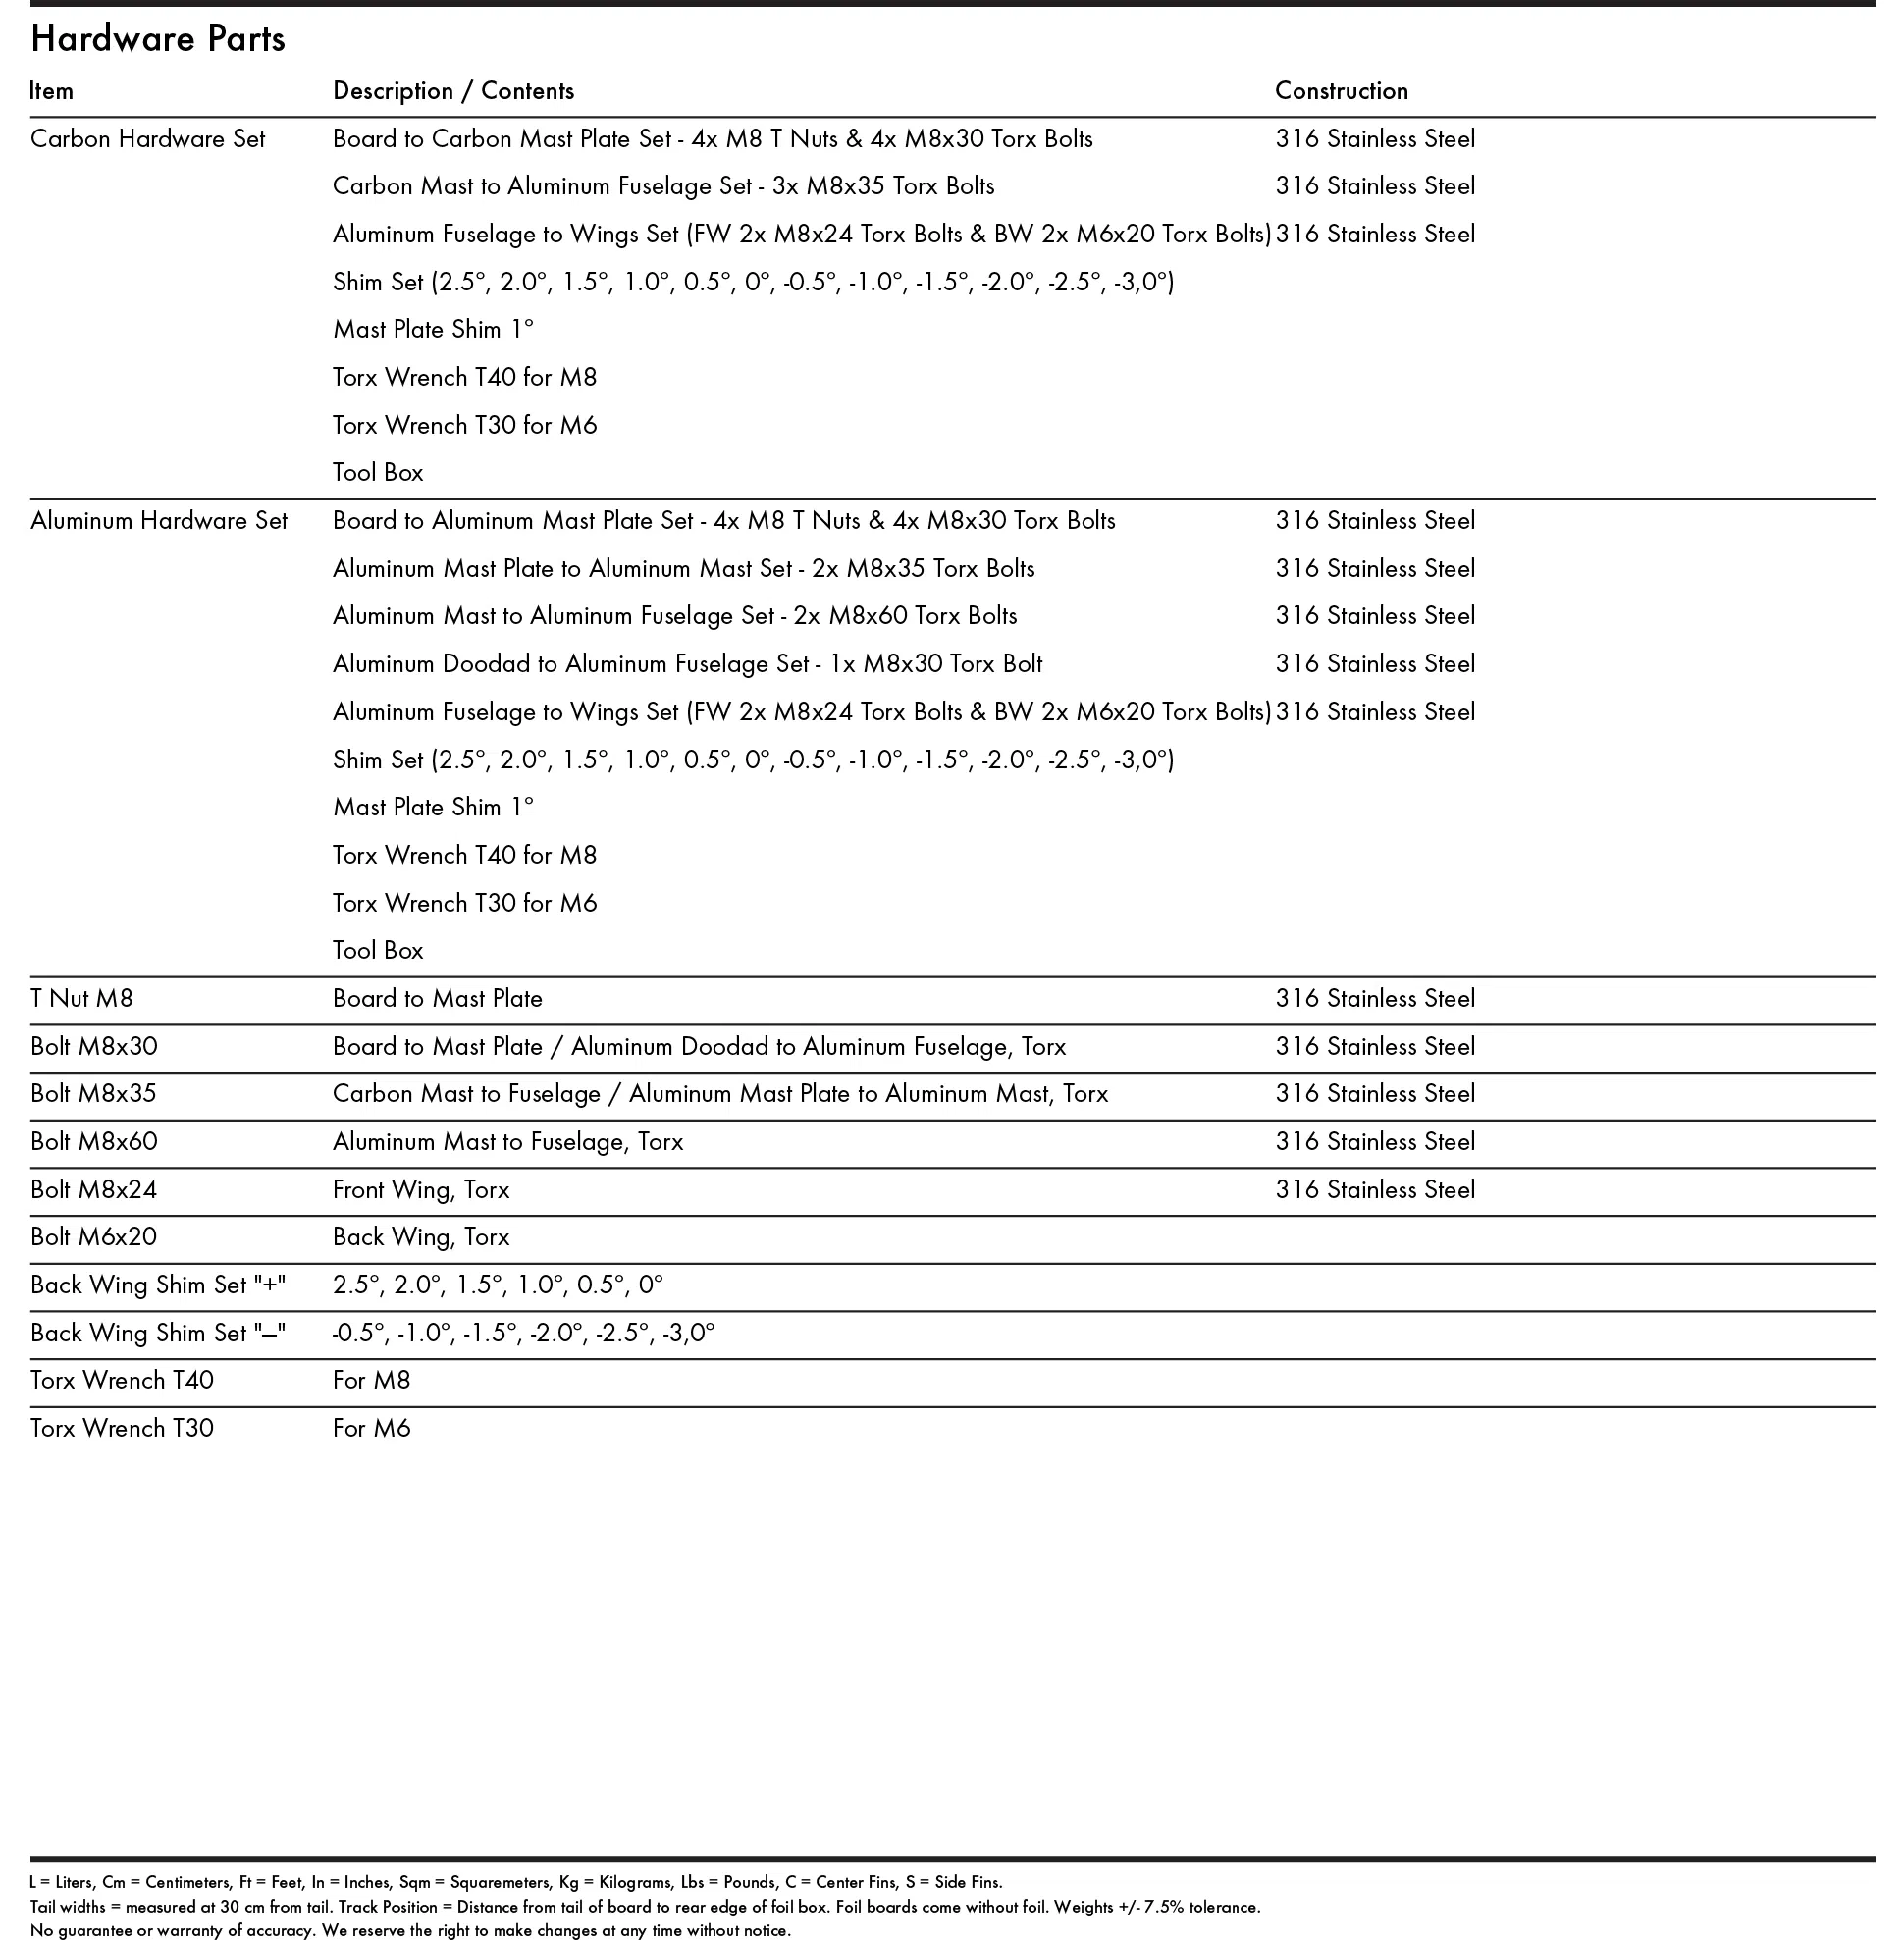
Included in your Hardware Set you will find two Torx Wrenches required to tighten and loosen the bolts, as well as a complete set of recommended Shims.
Torx Wrench T40 for M8
Torx Wrench T30 for M6
Shim Set (2.5º, 2.0º, 1.5º, 1.0º, 0.5º, 0º, -0.5º, -1.0º, -1.5º, -2.0º, -2.5º, -3,0º)